It has rained quite a bit over the past 10 days... On rare occasions the rain has let up for a brief while,but even then, cold temperatures and deep mud have hindered our work on the wagon. Siobhan and I finally settled on an indoor project--building, covering, and button-tucking the seat and back cushions for the wagon's two ledge benches.
Sounds easy enough, doesn't it? And it might BE easy-- if either of us had ever done any upholstery work (or knew the first thing about button-tucking!) If you have been following our wagon's progress, then you know that a lack of know-how has never stopped us before...So Siobhan and I made a mad dash to Hobby Lobby and Lowe's for some necessary supplies. We came home with 2 pieces of 3" foam (22" x 22") for the back cushion, 3 pieces of 3" foam (15" x 17") for the seat cushion, 6 yards of heavy-weight upholstery material (claret in color, with embroidered medallions in a diamond pattern), a pack of 3" crewel embroidery needles, embroidery floss to match our fabric, spray adhesive, and two 24" x 48" pre-sanded plywood panels. Eagerly we went to work...


For the 22" x 44" back cushion, we used a walnut-stained plywood panel as well, allowing 2" on each side for screws and trim, and a 2" border at the top for attachment to the wall ( as well as to the crown pediment.) We cut our plywood to fit our specifications, 24" x 48" .

Next step was to measure and mark the points where we intended to button-tuck each of the cushions. Once they were marked, Siobhan drilled two small holes (1/8" apart) at each marked point. We attached the 3" thick foam onto the wood with slow-drying spray adhesive, and then laid our upholstery fabric over the foam, leaving several inches of cloth to turn under on all sides.
I threaded a 3" needle with embroidery floss, and with the cloth and foam held firmly in place, I pushed the needle from the bottom of the wood up through the upper center hole; leaving an 8" tail below, I pushed the needle on through the foam, and then through the material to the top side. Making a neat 3/8" stitch, I inserted the needle back down through the fabric, the foam, and the lower center hole. Catching hold of the threads from both holes, I pulled them tight and tied them together with a double knot. In this way, I was able to make a perfect "button-tuck" without using an actual button--using the fabric's embroidered medallion pattern instead.

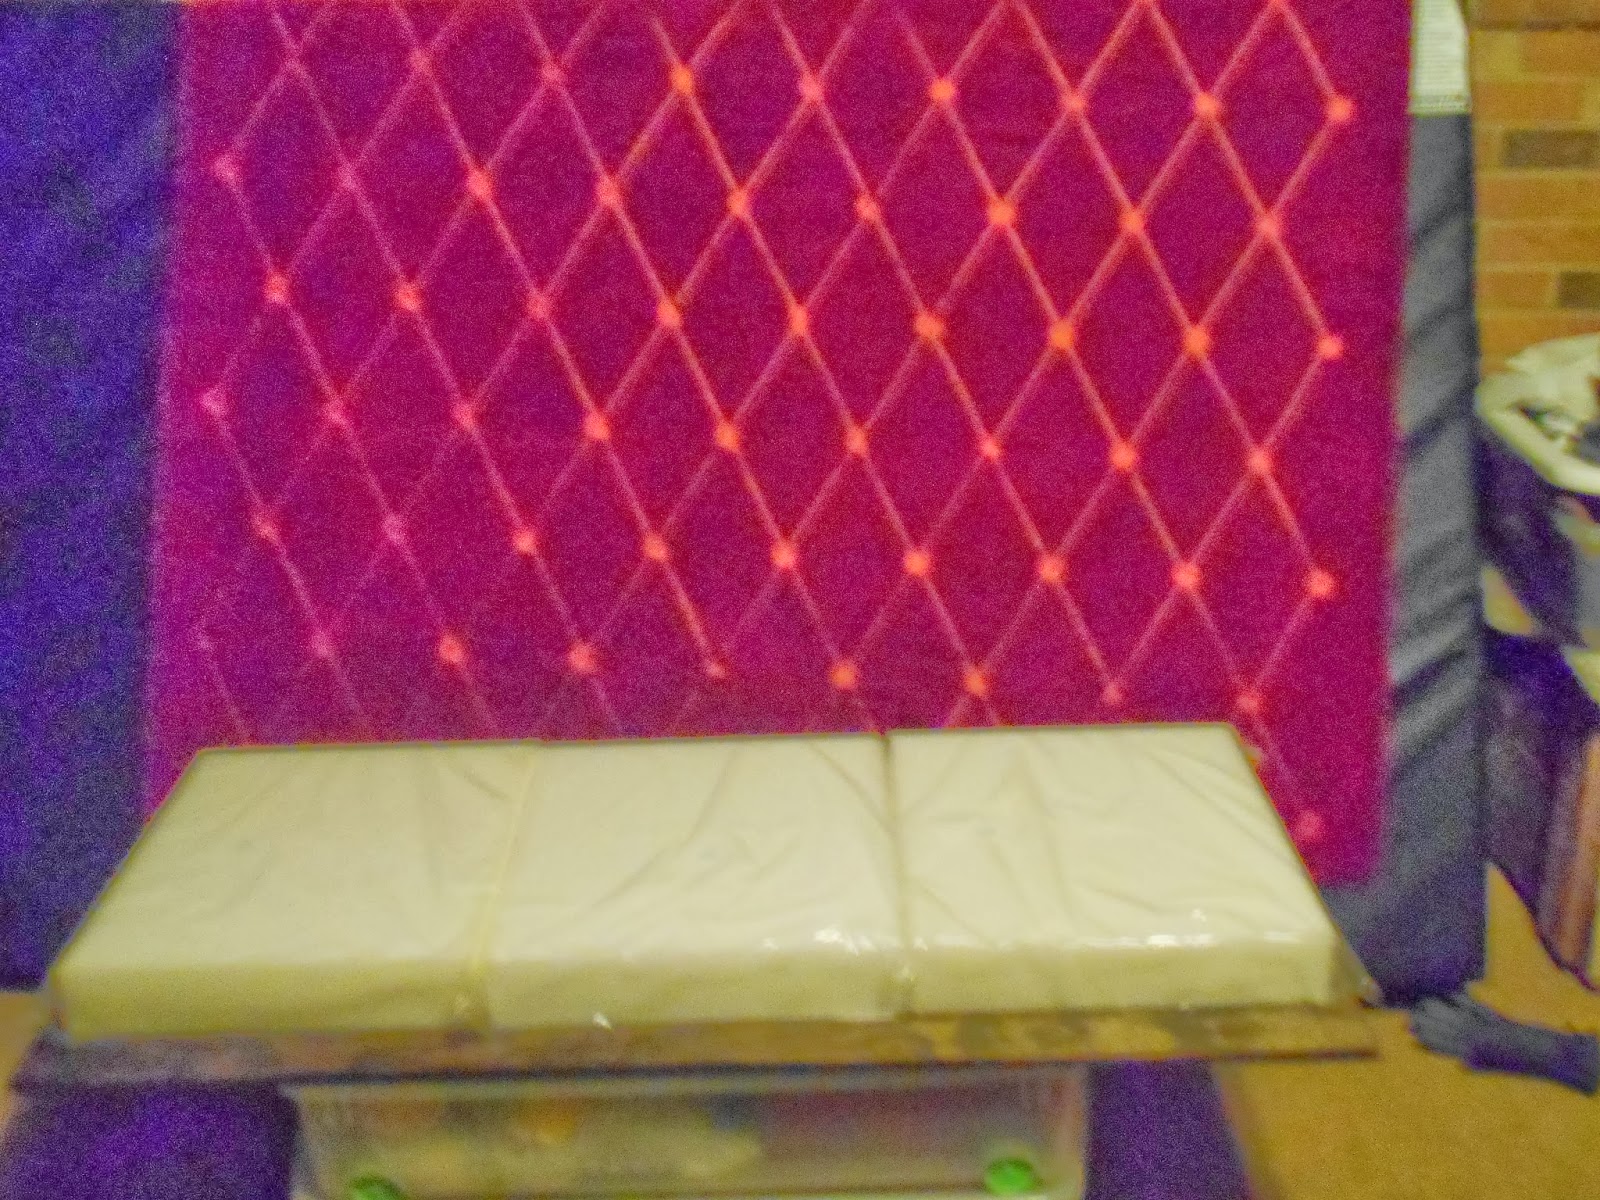
Using the fabric's diamond-stitched pattern as a guide, I smoothed the cloth and made my second button-tuck to the right of the first; I made my third tuck to the left of the first. I continued making button-tucks, alternating left and right sides, and working from the center outward. (This made it easier to keep the fabric straight and smooth between tucks.) When I finished all the tucks on the front row, I rotated the cushion and plywood and began working from the other side. I repeated the entire process with the back row of holes.

When all the button-tucks were complete, Siobhan turned under the extra fabric on the left and right sides of the cushion, and secured them using antique brass upholstery tacks and a small hammer. (Not knowing how far apart to place the tacks, we decided to put them a finger's width apart.) When Siobhan had finished both sides, I folded under the excess fabric along the back of the cushion, and secured it in the same way.
With the sides and back neatly secured, Siobhan then turned the excess fabric from the front edge underneath, pulling it snug and fastening it to the bottom side of the plywood with a staple gun and 3/8" staples. The seat cushion was finally finished--not bad for our first attempt!

Now we are ready to secure the padded seat section to the ledge with screws, and then start button-tucking the other half of our bench--the backrest section. When the second cushion is completed and secured to the wagon wall, then Siobhan and I can attach the side trim and the crown pediment, open a bottle of wine, and Sit Down! More pictures to come later...
No comments:
Post a Comment